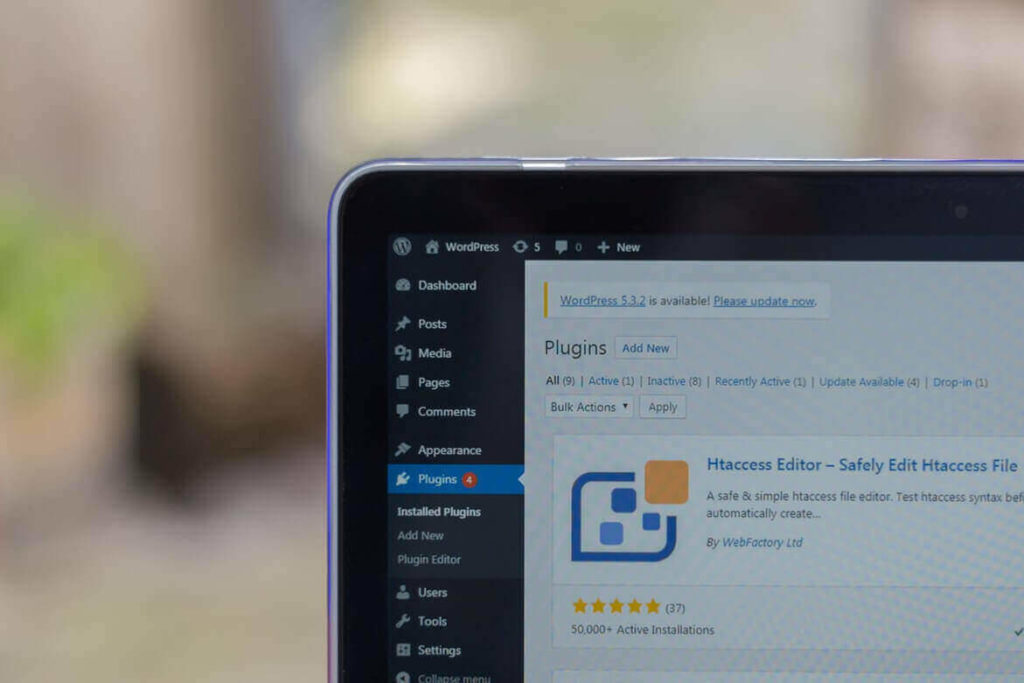
Here in this blog, we are unleashing how to optimize the speed of WordPress websites using a single plugin.
You might have observed that sometimes a WordPress website takes a lot more time to load properly than expected. The possible reasons that you might have gone through might be too many CSS files, the image size being too big, the theme is too heavy, or too many plugins, etc. As much you dig in, it will definitely become more complicated. So, we always lookout for the best possible quick fix to meet the caching needs for speed optimization of the website.
WordPress Plugins; How to Optimize the Speed of WordPress Websites?
Nobody wants to stay in Google’s SandBox so, it is important to let the search engine know about your site. Since Google gives priority to fast-loading websites, why not make yours one of it.
WordPress experts are always in search of providing their users with the best solutions. Speaking of speed optimization, the browser cache plays a role in loading the website by saving the history; helping to reload a page faster.
Nonetheless, an effective cache setup enhances the front and the back end loading time in order to provide the content as quickly as it can. Since we are talking about WordPress plugins, WP Rocket has proved to be the perfect solution for the speed optimizer. Also, it contributed to improving the speed into GTmetrix and Lighthouse. Let’s find out about it.
WP Rocket, Your WordPress Website Optimizer
WP Rocket falls among the premium caching plugin which is itself a comprehensive set of different tools that contribute to optimizing the speed of your website. Whether the user is a beginner or a WordPress pro, it can be used by both without any prior experience.
- It is not only restricted to that, but it also improves as well as increases the conversions and SEO ranking.
- It ensures a blazing fast loading speed and applies 80% of the performance of your website.
- The Rocket plugin immediately boosts the Google PageSpeed and the score of Core Web Vitals.
Wp Rocket Features Include
It is simple to configure wp rocket, all you have to do is download and activate it and you are good to go. However, the features of this plugin that makes it great include
- Providing a static cache for your smartphone and desktop for the content (the HTML version)
- It stores certain files on the browser of your local computer.
- On Apache, supports the web fonts cross-origin.
- Detects and provides support to third-party themes, hosting environments, and plugins.
- It refreshes the cart fragment cache of WooCommerce.
Installation of WP Rocket
Though the plugin comes with perfect settings and is easy to install, yet for the ease of our readers, here is how you can improve your website through it.
Step 1: Installing WP Rocket
Obviously, the first step for installing the plugin is to find it by searching
Plugins > Add New > Search WP Rocket in the search bar > Install > Activate
Once it is activated, it will turn on the caching settings for the website. Right after installing it, you will see a noticeable optimization in the speed.
After installing that, go to the plugin settings for more options.
Step 2: Setting up the Caching Option in WP Rocket
Go to the settings > WP Rocket page and open the cache tab. It automatically enables page caching by default but you can customize the settings according to the needs.
- Mobile Caching
It is turned on by default. For the safe side, it is recommended to check the Separate cache files for the mobile. It allows WP Rocket to distinguish the cache files for mobile users.
- User Cache
If your website is the one that requires the login to get access to certain features then, check this option.
- The lifespan of the Cache
This is the time at which the lifespan of the cache files are saved for the website. The default time is 10 hours. For busy sites, you can minimize it.
Step 3: Minify the Files
This minifies the static file size. For the large traffic sites, this reduces the overall bandwidth usage and the hosting cost.
Step 4: Lazy Loading Media
Images and videos usually take a lot more time to load than the content. In order to minimize the loading time, many users have not started to install Lazy Loading separately. WP Rocket comes with this built-in feature.
Step 5: Set Up the Advanced Caching Rules
This plug-in provides more control over the cache setting of your website. To exclude some pages, you can switch to the advanced rules tab if you do not want to save cache for certain pages.
Such information will help you to customize the setting of your plugin.
From Where Can I Get the Relevant Guidance about my WordPress Website?
It could be tricky, what to follow and what not to. We have cut down the hassle and provided you with a platform from where you can get the right guidance regarding your WordPress website, you can get it from wpplease.com. It is an authentic source from beginner to expert, you will all find it here with well-researched information.
Closing Notes
Since we are talking about the ways to enhance the Speed of WordPress Websites according to Google’s intent, WPPlease.com could be your authentic service provider from where you can get assistance for your WordPress website.
Find that informative, for more guidance regarding your website, continue reading at WordPress Speed Optimization Services


